继续分享wordpress外贸建站教程。之前遇到一个wordpress外贸建站定制需求,客户需要给网站添加一个manufaturer制造商页面,参考的样式比较复杂我没做出来,不过想到了一个简单的低配版本,还凑合使用,这里记录一下实现过程。
步骤一:添加属性

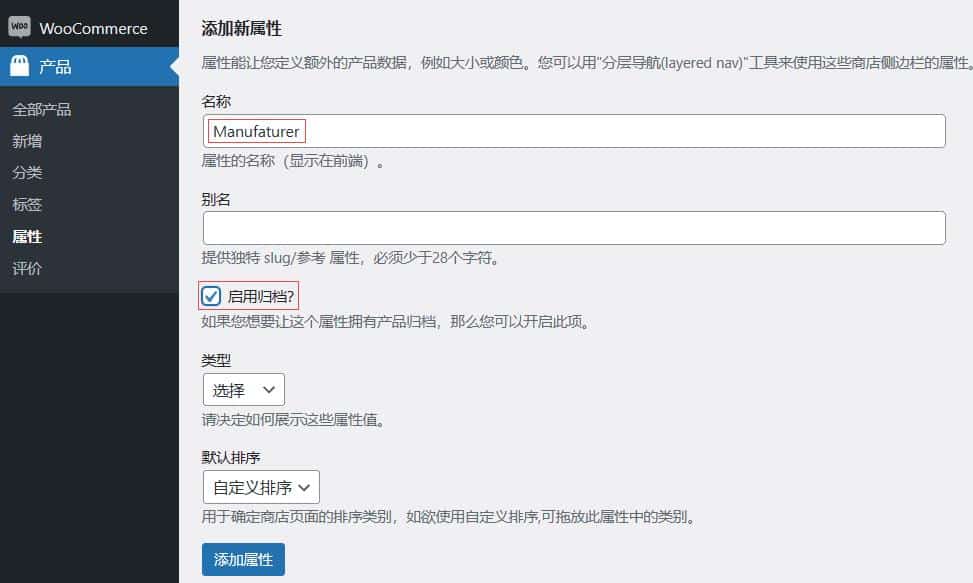
进入wordpress建站后台,打开产品-属性,添加新属性,填写名称,然后【启用归档】。

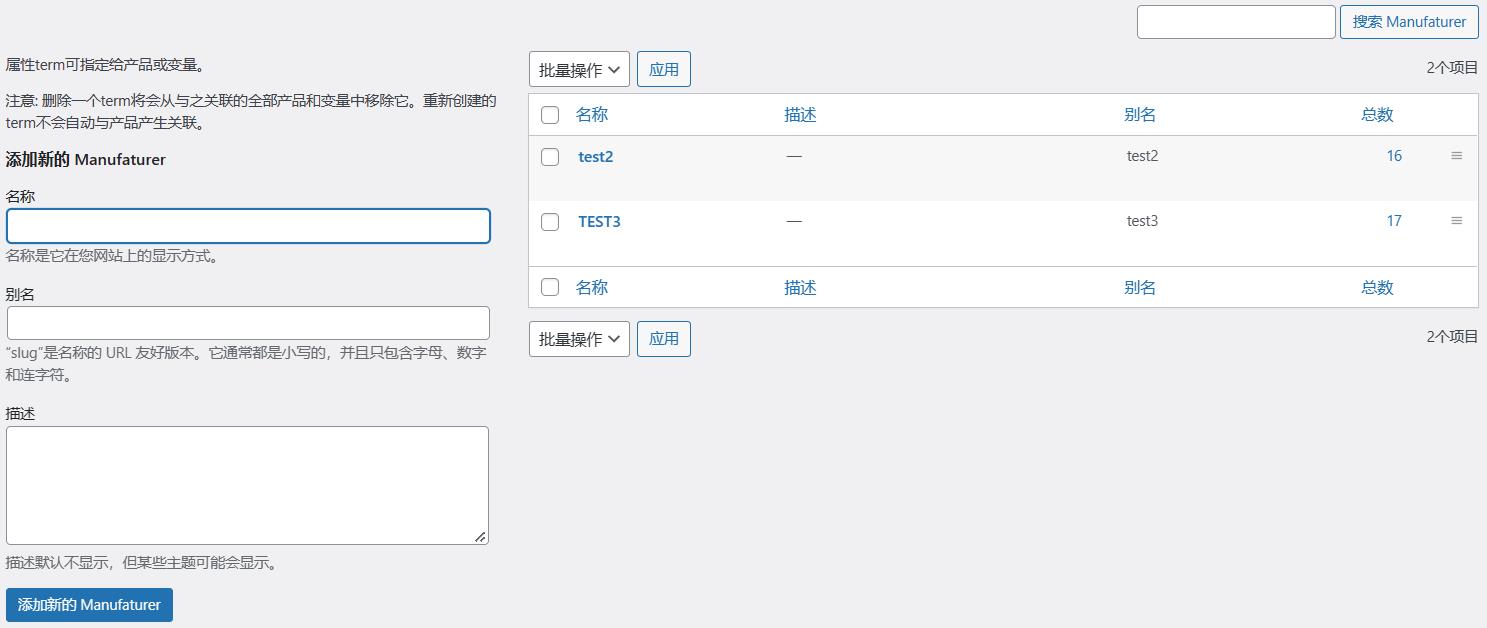
接下来点开添加的【Manufaturer】属性,然后添加一些子项目。
最后我们还需要添加一些产品,并添加【Manufaturer】属性,指定对应的子项目。
步骤二:安装Product Attributes Shortcode插件
接下来我们需要用到一个产品属性短代码插件Product Attributes Shortcode。

插件可以在wordpress建站后台搜索安装,也可以通过下面链接下载安装。
Product Attributes Shortcode
https://wordpress.org/plugins/wcpas-product-attributes-shortcode/
Product Attributes Shortcode插件安装后我们可以通过下面的两个短代码来调用,第一个只调用属性,第二个可以额外显示项目个数。
[wcpas_product_attributes attribute="X"][wcpas_product_attributes attribute="X" archive_links="0" show_counts="1"]注意:X为属性名称的slug别名,你换为你自己的就可以了。
步骤三:调用属性
接下来我们需要新建一个页面,可以使用古腾堡编辑器,也可以使用Elementor等编辑器, 制作好页面内容,然后添加一个短代码模块,填写上面的短代码即可,比如我们添加的是【Manufaturer】属性,那么在attribute后面填写manufaturer即可。
[wcpas_product_attributes attribute="manufaturer" archive_links="0" show_counts="1"]默认情况下调用的属性值是竖着排列的,这样太占空间,我们可以通过下面的CSS来修改为横向排列。
.wcpas-product-attributes li {
    line-height: var(--porto-body-lh);
    display: inline-block;
    padding: 0;
}
ul {
    padding: 0;
}

.wcpas-product-attributes a {
    margin-left: 10px;
    color: #444;
    font-size: 18px
}
CSS代码可以添加到网站自定义-额外CSS中。

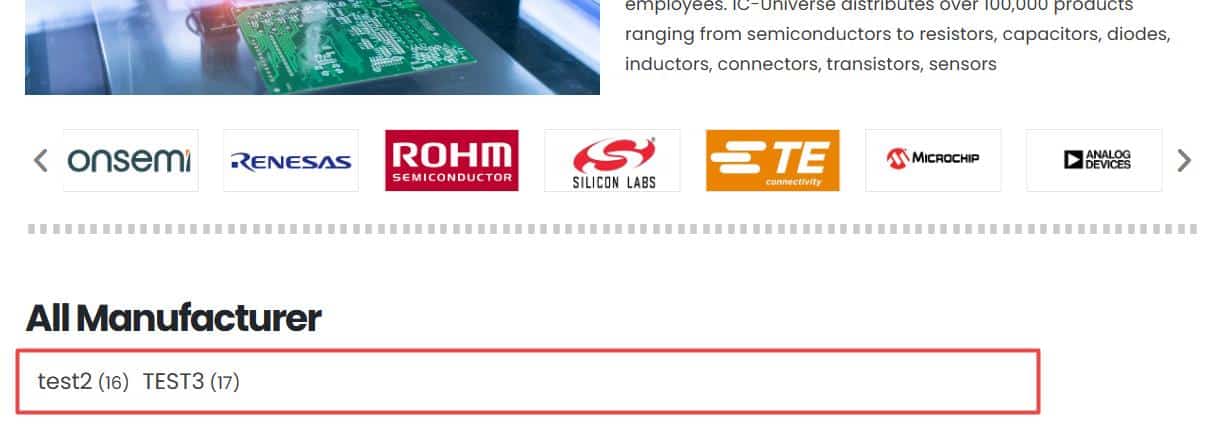
最终添加的效果如上图所示。当我们的产品中添加了其它Manufaturer子属性时,这里会自动更新。


